
The stock interior of a Sprinter Crew van isn’t anything special. Lots of exposed metal, no insulation, and no storage space. We stripped out all the stock plastic wall panels and headliner, then we got to work creating a cosy, livable space.
Floor and walls
We started with the floor, by adding 1/2″ depth of heat and sound insulation and a protective vinyl mat layer. We put this on top of the factory wood floor, held in place with flanged l-track.

We also used flanged l-track to hold the wall panels up. We insulated behind them with Thinsulate against the van walls, then an air gap, then a layer of Low-E foil faced closed cell foam. Here’s a comparison we made of most of the different insulation types that people use in vans.

On top of that insulation we added 1/4″ plywood panels (actually 1/8″ with some double layers where the attachment points were). We covered the panels with 1/8″ closed cell foam behind strong Olefin upholstery fabric (automotive tweed/ church pew fabric / interweave). The ceiling was built up the same way.

In the front of the van, we used bamboo ply below the windows. In the back, we used 1/2″ plywood covered in the same rubber coin material as the floor.

Cabinets
We mocked up the cabinet locations using cardboard boxes so we’d know what equipment would fit in which locations, and how it would feel to perform tasks like cooking, eating, or just sitting in the van with the cabinets in place.


The cabinets are mainly made from pre-finished maple plywood – a relatively light plywood that comes already varnished in 1/2″ and 3/4″ thicknesses. The visible areas are 1/4 bamboo ply, either as a panel or glued into a triple layer (3/4″ thick) for the drawer and door fronts.
We’d originally intended to build the cabinets like road cases (flight cases) and we still kept the aluminum corner extrusions in the final design, even though they ended up more as a visual element than a structural one. Even though we didn’t go full flight case, the cabinets are all removable. They bolt in to the l-track mounted in the wall and floor.
The countertop is Stratum by Richlite. It’s a 1″ deep slab made from bamboo with a top and bottom “sandwich” of highly compressed and bonded paper. It’s not as light as we might like for a mobile situation, and it’s a bitch to work with, but it’s visually stunning.
We realized these cabinets were heavier than they needed to be, so when we built our sink unit we experimented with 80/20 aluminum extrusions to make the frame for it. It’s a lot lighter, just as strong, and easily reconfigurable. We may even re-build our other cabinets using it.
Removable platform bed
We installed removable bed panels from Overlandsprinters.com.

Initially we were going to build a DIY bed but Overland Sprinters came out with a cheap, sturdy bed platform kit. Two rolled steel rails and three aluminum panel frames. You add your own plywood facing to the panel frames. This keeps the cost down to about 1/3 the cost of the RB Components alternative.

That means we now have removable bed panels above the storage area at the rear of the van. They sit on rails mounted to the walls. The mattress and bedding go on top of the panels. During the winter we add a 12 Volt mattress heating pad.
When we want to use the van to carry larger items or on biking day trips, we just take the bed panels out so we have full height access to the entire rear area.

Storage space
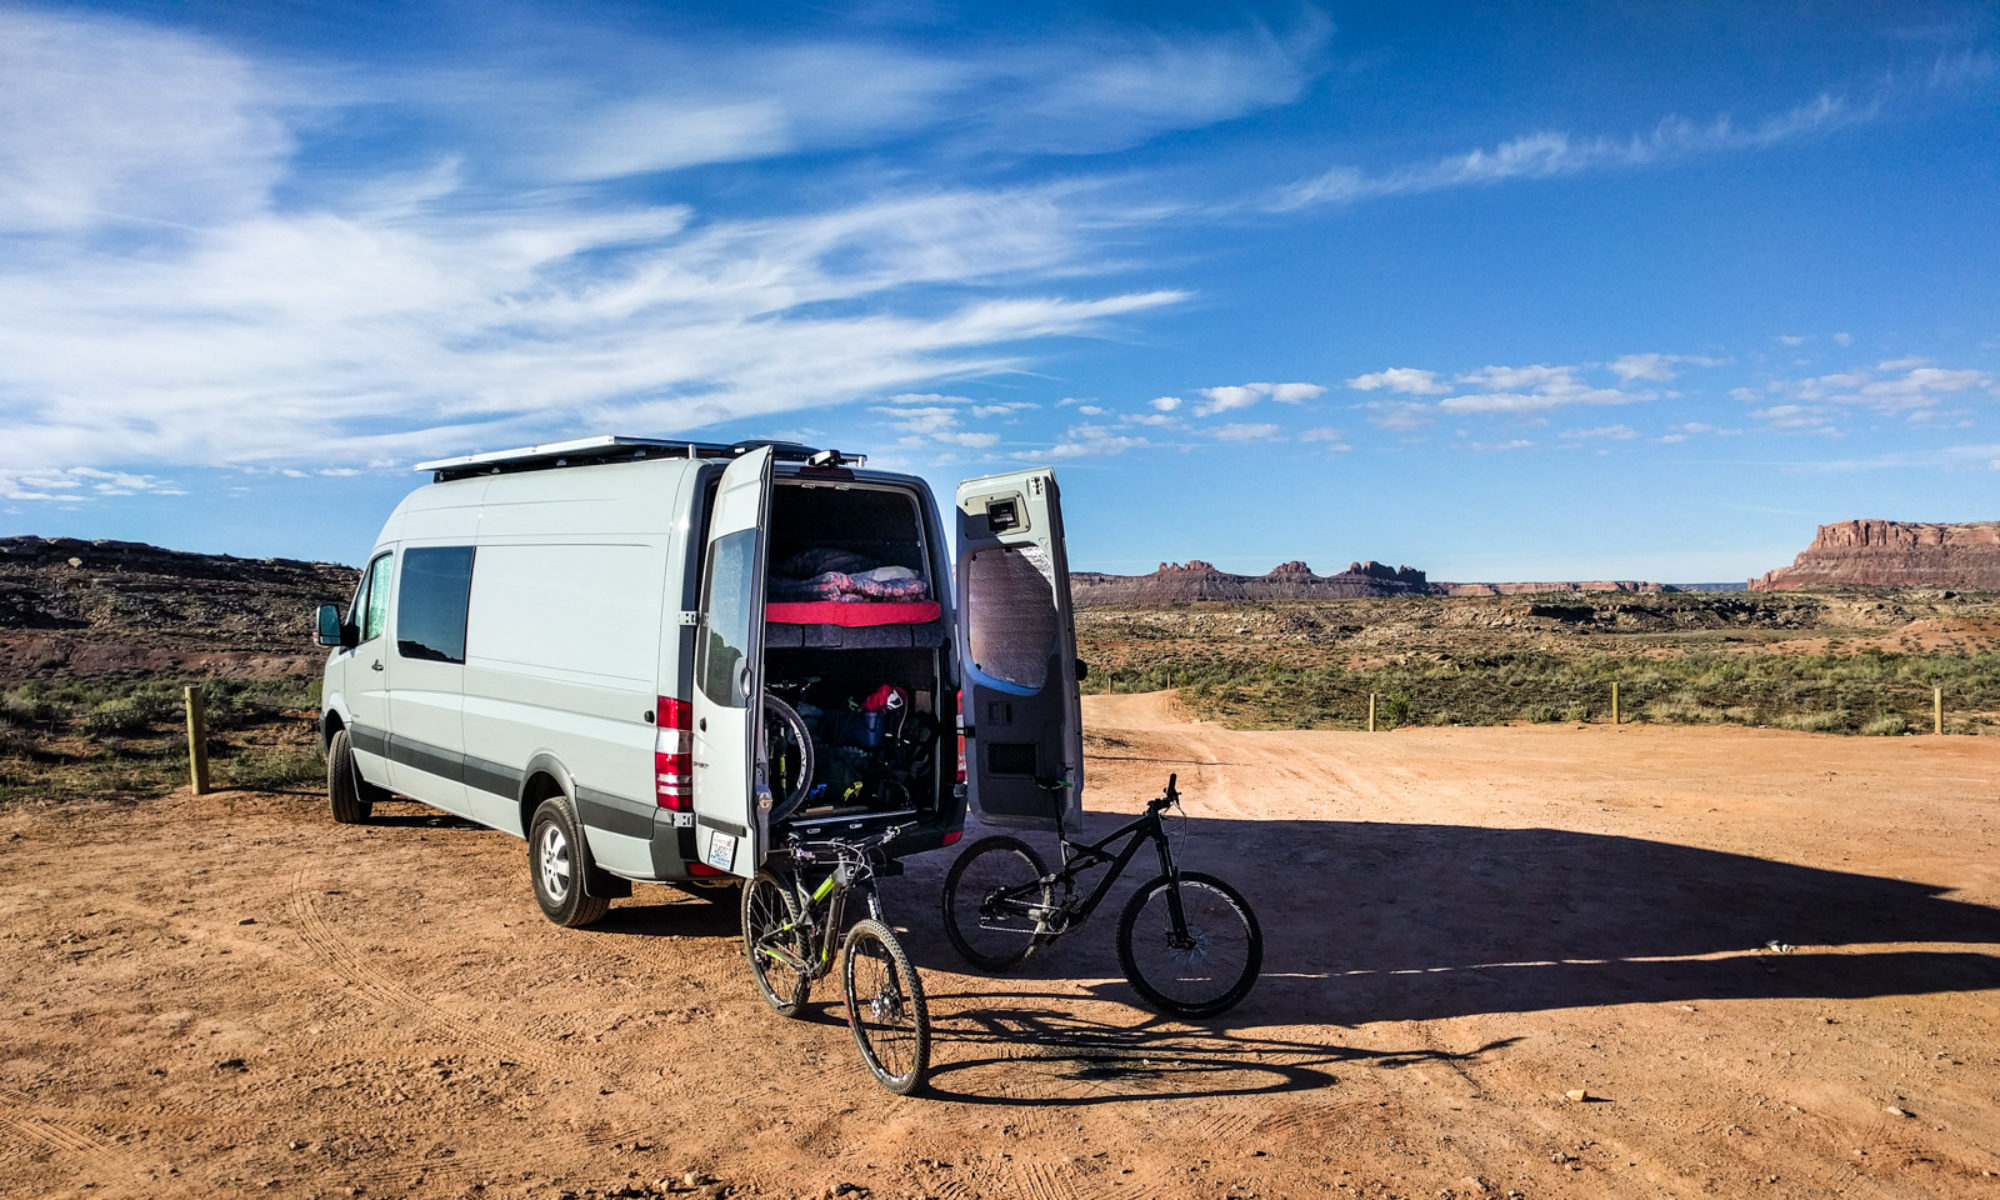
The back of the van is where the bikes live. But they have to play nice and share that space with our bed, the battery and electrical control panel, the water tank, and the shower hose.


At the moment, we’re just using regular bike stands mounted to a panel that is free standing on the floor. We might add a slide-out drawer with two roof rack style mounts that clamp the front wheel in place, and also some fork mounts attached to removable plates that can clamp in to the l-track.
What we used:
- L-track (logistic track) from Amazon. With Prime shipping, this works out to be a real bargain compared to some of the specialist sites that also sell it.
- Stratum countertop from Edensaw.
- Teragren bamboo ply and Plyboo are hard to find. My neighbor has an account with a specialty supplier. Do NOT get Teragren’s flat grain 1/4″ ply that has two layers which run in the same direction. The 4×8 sheets split apart too easily because they do not have the strength that a cross-ply lamination provides.
- Plywood for walls – don’t just go to your local DIY store. There are often much lighter plywood choices at very similar prices. We used Meranti (Lauan) plywood. It was really easy to work with as a glue-grade wall panel.
- Fabric from Amazon. Kovi sell it direct, but Amazon had a free shipping option, which made it much cheaper. Perfect Fit sell a cheaper version that looks just fine. Get a sample before you buy.
- 1/8″ polyethylene closed cell foam from Foam By Mail.
- We glued the fabric and polyethylene foam on to the plywood with DAP Weldwood HHR Landau Top spray adhesive. That stuff is STRONG. It’s also banned in several states, so it must be good. We got ours along with a spray gun from Perfect Fit. They aren’t too friendly – Amazon sells the same stuff.
- Thinsulate insulation from Hein on the Sprinter-source forum (he also sells on eBay) – he’s a great person to do business with.
- Low-E foil-faced foam insulation (similar to Reflectix but less crinkly, less compressible, cheaper and easier to work with) from Amazon. Other places sell it online at quite a mark-up.
- Materials for building road/flight cases from Amazon – aluminum extrusions, all sorts of hardware options like handles, corners, etc. I still think the semi-industrial look would work really well in a Sprinter.
- Coin-grip rubber flooring (used on the floor and also the walls in the rear of the van) from Amazon.
- 1/4″ thick Rubber stall mat material used as the sound-deadening layer in the floor sandwich, from Amazon. This particular one has quite an open grain, so it might be hard to clean if you use it as a top layer. Amazon also sell rubber flooring runners (1/8″ thick) with a pebble-top surface that is better sealed and would wipe clean much more easily.
Interior build news
- Ox Box from Adventure Wagon – a sturdy “treasure chest”
- New fork mount bike rack for our L-track
- Removing the rear door panels on Crew and Passenger vans
- Why we tried not to make holes in the outside of our van
- Making foldable window shades from Low-E foil-faced foam
- Do composting toilets smell bad?
- LED lantern comparison – we did so you don’t have to
- Quick Fist clamps for mounting items to the van
- Upgrading the stock Sprinter stereo – overview
- Step ladder for our platform bed
- Installing the Nature’s Head composting toilet in a Sprinter
- Window covers – insulation where it’s most needed
- Foam pipe insulation for bed-to-head protection
- DIY Conversion vans are always a prototype
- Keeping conversion van weight under control
- What to do with your 3-person passenger seat bench when it’s not in the van
- Template for filler piece at rear of cab headliner
- Non-slip rattle reducing drawer liner
- Cutting bed mattress foam to size
- Door mat for the van