
Here’s our take on what you need to consider from the time before you buy a van through to fitting it out and enjoying using it.
The most important stage of converting a van is the planning. Once you know what you want to do, you can work out how all the puzzle pieces go together and then start the installation. If you don’t do the planning up front you’ll end up ripping things apart several times to run more wires, cut new holes, or replace whole assemblies.
The planning process can be exciting, as you check out other people’s builds and dream about what you want to do. It can also be frustrating, when you have to learn about things like Amps and Watts, grey water tanks, material choices, and all the other stuff that goes into building a van. It can be downright annoying when you realize that you can’t fit all of the features of a 40 foot Class A motorhome into a van.
One thing to know: You probably won’t get it right first time. DIY vans are always a work in progress. However, starting with a plan is much better than just piecing things together as you go along.
Even if you expect to hire someone else do all the physical work, you still need to work out what it is that you want, and why. You’ll also need to consider what order to do everything in.
Decide: DIY, project manager, or pre-built
There are three main options to get the adventure van you want:
- Do this whole thing yourself from a bare van.
- Get the van and then take it to outfitters to build out for you in stages.
- Buy a pre-converted van or custom order one to your specs.
The full DIY route can be daunting, but if you have more available time than money it’s pretty much the only way to do things. You can learn most of the skills you need, or just use professionals for the parts that need specialist tools or knowledge.
The middle ground is to buy your vehicle, then take it to different upfitters to get various pieces of work done. For instance, getting a basic interior fitted, or having a new window or a fan installed. This process takes some project management skills, but it’s often cheaper than getting a full build done and you can stagger the cost by paying for each piece of work at different times. Also, there will be some smaller pieces of work that you can do yourself once the upfitter has done the major pieces. Companies like RB Components and Van Specialties will do partial upfits with a professional finish.
The other alternative is to pay for a fully converted van. We put together a list of conversion companies that spans everything from parts suppliers to full-on conversions.
Some RV manufacturers now make vehicles that are more overland/adventure style than the typical RV. The Winnebago Travato is a good intermediate step between RVs and adventure vans. It’s built on the Dodge platform. Although it has a more traditional RV layout that has less interior storage space for toys, it’s still designed with outdoorsy people in mind. For instance, it has a solar panel on the roof rack and a bike rack on the back. Winnebago also released their Revel in 2017, built on a Sprinter 4×4 platform. Real-world pricing is around $110k. I can see it becoming a really popular off-the-shelf van even though it makes some compromises in terms of interior space and provided systems.
Companies like Outside Van and Sportsmobile specialize in custom and semi-custom Sprinter van conversions. Advanced RV makes more RV-like vehicles that are still relatively adventure-worthy. You will pay more for this type of build-out, and you will be limited to the choices of components that the upfitter is comfortable with installing. But if you have more money than time, this is a very viable option.
Costs of DIY versus conversion companies
It’s hard to put a cost on some of these options. A lot will depend on how much effort you are prepared to put in (sweat equity) and what level of quality you expect.
- You can scrounge up the components for a basic self-conversion pretty much for free if you try hard enough, wait long enough, constantly scour Craigslist, and don’t mind an eclectic look. We used high-quality components, bought new, and spent just under $30k on ours, and we also ended up with some cool new tools in the process.
- Using an upfitter means paying for their time, and any mark-up they put on materials. Several areas of the van build are time-intensive, which makes them expensive. I’d suggest that you budget on triple the materials cost (at least) to have someone else install components for you.
- A basic Outside Van build starts at 40k in addition to the vehicle cost. That gets you some insulated walls, a bed, a vent fan, some interior lights, some vented windows, and some window shades. You also get a fancy bar on the front of the van to make it look macho. No additional battery or charging system, no plumbing, and no cabinets though.
- The Winnebago Travato can be had for less than $90k, the Revel for around $110. A van with a custom conversion will set you back somewhere in the region of $150 to $250k.
Most of the rest of this article assumes you’ll be doing the build yourself, or project managing other people doing work to your specifications. It’s still worth reading through even if you’re thinking of buying a turnkey conversion, because you’ll be able to have a better conversation with the conversion company about what you want in your vehicle.
Think hard about how you’ll use the van
It’s easy to develop some romantic notion of how you’d love to use a vehicle that you can sleep and live in. But unless you’re going to make a radical change to your lifestyle, sell most of your possessions, and move in to the van full time, this isn’t going to be your primary residence. It doesn’t have to meet every need that you use your current house for. And if it is going to be your primary residence, you’ll most likely be making some compromises.
Are you planning on traveling across the country on multi-week trips? Or will you be more likely to use the van for quick weekend getaways? Does it have to be a daily driver as well as an adventure van? Do you have to use it for hauling work gear during the week as well as mountain bikes on the weekends?
What sports you are involved in also determines your usage. Kayaks have very different storage requirements than bouldering mats. Mountain bikers don’t need space to store dripping wetsuits. Triathletes (heaven help you) have smaller bikes than downhillers.
In other words, you need to decide what level of creature comforts you want to install, and what “toys” you need to make space for. You have to balance this list against the other uses you’ll have for the van.
Do you need to park the van off the street in a regular garage? That might determine the van height, and whether you choose to install a pop-top or not. On the other hand, if you’ll be overnighting at ski resorts, a pop-top might not be the best idea in the snow.
Decide what your uses will be for the van before you go any further, and write them down. You’ll be making compromises as you go along, but it’s good to have a clear set of goals to compromise from!
Choose a van manufacturer
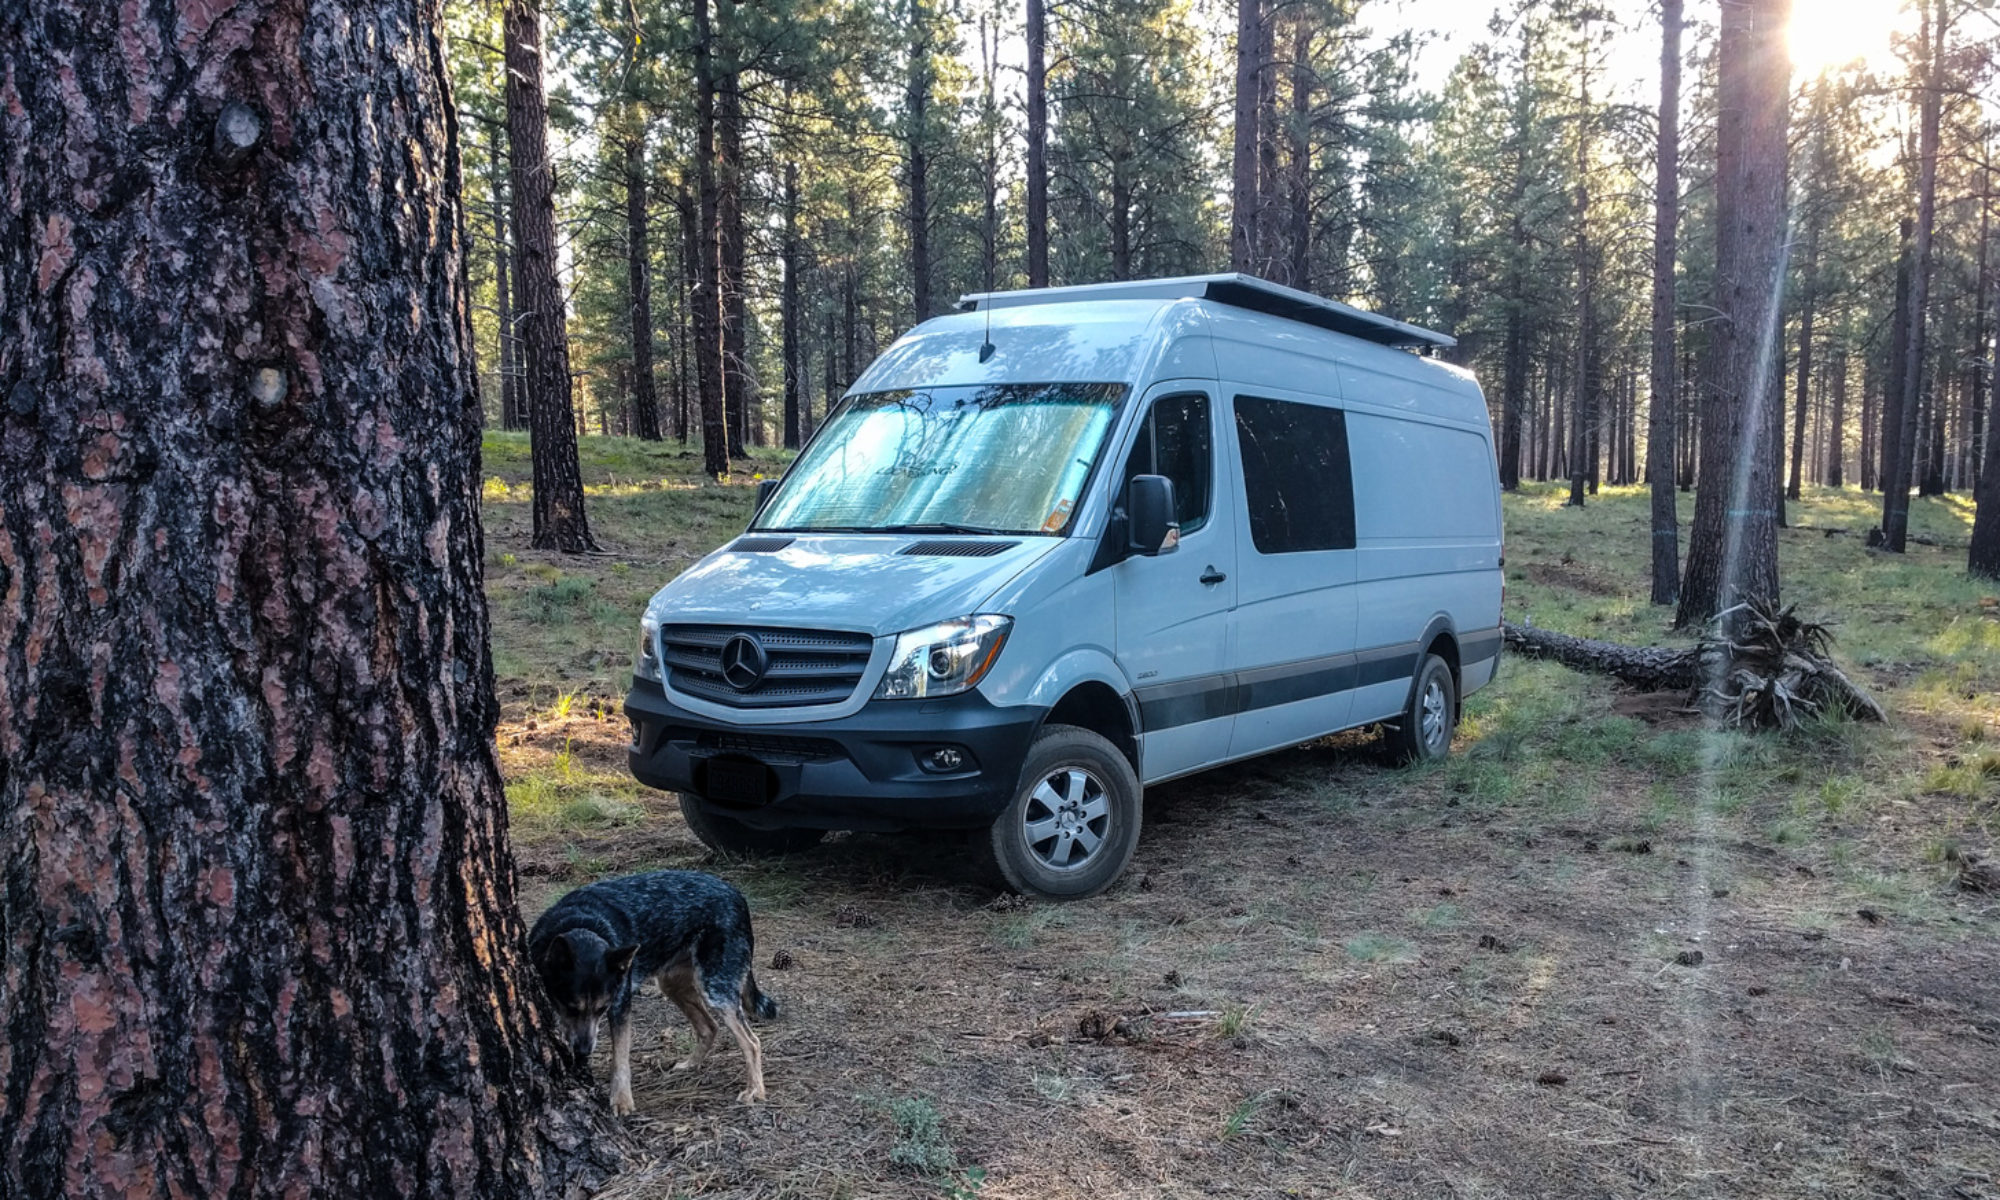
One of your first tasks is to choose which manufacturer’s van you want to build your conversion on. Mainly you’ll be looking at Sprinters, Ford Transits, Dodge ProMasters, and perhaps the Nissan NV.
This whole site focuses more on the newer style (NCV3) Sprinter, but the components and decisions are the same regardless of brand or vehicle age. There’s nothing wrong with buying an older vehicle if you are prepared for the potentially higher maintenance costs.
If you’re looking at used vehicles in the USA, the only used-market van you can stand up in (other than the ones in the link above) is the older generation (T1N) Sprinter. Depending upon how much head room you need, you can also use Ford Econoline (E250/E350) and Chevy Express style vehicles either with or without a pop-top. Any of the Volkswagen van models available in the USA now are going for crazy prices and are getting very long in the tooth. Still, if that’s your thing, go for it!
One important note for North American readers: You might want a vehicle with a gasoline engine or an older (T1N) Sprinter if you plan on traveling in South America, where Ultra Low Sulphur Diesel (ULSD) is not commonly available. High-sulphur diesel will clog and ultimately kill the newer Sprinters’ emission control system.
Decide what power sources you’ll use
It might seem curious to start with this topic, but it determines so much of the rest of your build that you really need to consider it up front.
For instance, adding propane for cooking, heating, and hot water will most likely mean cutting holes in the side of the van for vents, and installing a propane tank under the vehicle (less ground clearance) or in a special sealed and vented safety cabinet inside the vehicle (less space inside the van). On the plus side if you want to run a generator, having a propane tank gives you the option to use that as a fuel source.
If you ended up with a diesel van, then using diesel for heat is easy, using it for hot water is achievable, and using it for cooking is feasible but the cooktop is expensive to buy and slow to heat up. Most people don’t go with diesel cooktops. Diesel generators are available but they aren’t really suited to RV usage – they like to be run hard and often, which isn’t how a typical RV works.
Using electricity for all your power needs is a definite possibility now that lithium batteries are available. It can be expensive to install a system that’s big enough to meet all your cooking and water heating needs, and you need one or more charging sources (solar, second alternator, generator, shore power). Going all-electric does however save you some installation costs and headaches compared to a mixed propane/electric system.

So, think about your usage habits and what type of fuel you’d be comfortable with for cooking, heating, water heating, and power generation. You might decide to not even have a hot water source in the van, or to not have a diesel/gas/propane generator (we didn’t!). Cooking can be as simple as a camp stove and 1lb gas canisters, or a little butane-powered burner.
At the other end of the spectrum there are people who just can’t exist without a generator, LP gas cylinder, on-demand hot water, and a full range and oven. With each choice comes additional complexity!
Work out how much battery you’ll need and how you’ll charge it
Here’s where the romance stops and the science starts. Lots of people fudge this part of their build. They buy a cheap inverter. Then they start asking questions on the Sprinter Forum about how to attach it to their battery so they can run their air conditioning system. Then they end up having to re-do things or live with a potentially dangerous or sub-standard electrical setup.
Spend the time to read, learn, and understand battery issues now. Even several of the “professionals” don’t install what would be considered “proper” systems. It’s best to make yourself aware of the variables and issues so you don’t get a nasty surprise later.

First off, read this post to decide what size battery you even need. It’s a balancing act. At this point, once you’ve done the calculations, you may want to revisit the different types of power source available to you (above) to reduce your electrical needs. Maybe propane is a good choice for you after all!
Now, think about what source you’ll use for your electricity. If you are doing a super-minimal build, you might be OK just using an auxiliary battery that charges from the engine. If so, read about how to tap in to the Sprinter’s battery IF you are within the limits set by Mercedes.
Another consideration is whether you’re within Mercedes’ limits for using the alternator in the engine to recharge your battery system. Can you even recharge using engine power? Do you need a proper recharging system instead?
Do you think solar panels will work for you? If you’re putting kayaks on the roof, they’ll shade the panels and stop them from working. If you live in a sunny state though, solar can be a great recharging mechanism. Work out whether it’s right for you here.
Next think about what 120 volt devices you’ll want to run. People often decide they want a massive inverter to create a lot of 120v power, but there’s a good reason why you can’t run a big inverter from a small (under 400 Ah) battery. Often, it’s more economical to downsize your 120v requirements or install alternatives that use other power sources (a propane stove, or diesel water heater).
These days, the cost of lithium batteries is falling. Here’s why you’re probably going to end up spending big money on lithium batteries. We’re convinced it’s worth it – a good lithium system is pretty much hassle-free, more flexible, and will last longer with more abuse than a lead-acid system. But it’s up to you!
Choose your heat source
Your three main sources of heat in the van are propane, diesel, or using an engine coolant heat exchanger. Using electricity is possible in some situations. This is true both for heating the interior and for heating water.

Obviously you can plug in to shore power and run an electric heater from that, but shore power implies civilization, which is probably what you’re trying to escape from in the first place. You can’t easily stealth camp in a city either if you have a power cable slung from your van to a nearby house.
You can also run a generator to create electricity for heat and hot water. Don’t be that person, please. Running your generator at 2am because you are cold makes me and everyone else around you want to light a fire under your vehicle.
It’s unlikely that you can use electricity from your battery to heat the van. The space is just too big. An electric heater would run your battery down too quickly. You can plug in 12v mattress heating pads overnight to keep your sleeping area warm, but you won’t be running an electric fan heater from the battery.
You can use your electrical system to heat water. It is a power-hungry system though, and normally requires either a large battery bank, excess solar power, or a way of connecting to the van’s electrical system while the engine is running.
In a diesel van, it’s pretty easy to add a diesel heater. It uses fuel from the main vehicle tank (but won’t run it dry). It heats the van quickly and doesn’t use much fuel or electricity. You can also get versions that heat water. They can be used both for hot water and to feed radiators for van heat.
If you have a propane tank, you can get propane furnaces and propane hot water heaters. We investigated this option but decided against it because we didn’t want another level of complexity in the van. Propane plumbing isn’t necessarily hard, but it’s another system to debug when things go wrong. It might be the best option for you though. Even a small propane tank can store more “energy” than a large battery bank.
If you have solar panels, you can use spare solar power to heat water after your batteries have charged. It’s called a diversion load. You’ll need a solar controller that can sense battery charge and switch the water heater on and off. You also need sunlight. This is often something people install as a secondary heat source for their water rather than the primary source.
Several of the hot water tank designs on the market have an electric heating element, but also have a pipe inside them that you can use to run hot water from the engine cooling system through. As the hot water from your engine runs through this pipe, the heat transfers to the water inside the tank. Once it’s in the tank, you can use it for hot water at the sink or for running a radiator to heat the van interior. So, regardless of whatever other heat source you use (electric, diesel, propane) you can often choose to plumb the hot water tank to heat up whenever the engine is on as well. It’s slightly more complex than other methods, but it’s “free” heat.
Decide on passive versus active cooling
Only you can decide whether you’ll need an air conditioning system for the vehicle, or whether you’ll be able to survive by just using roof vent fans.

A roof vent fan (or better still, two) can create major air flow through the vehicle. Of course, if it’s 110 degrees outside, that means you’ll just be moving a large amount of hot air through the van.
Lots of people install aftermarket windows with opening vents at the bottom (called t-vents or awning windows). These can really help with the airflow in a van, either on their own or in combination with a fan.
Air conditioning is a power-hungry system. Although some people are able to run their roof mounted AC unit from batteries, most require the engine to be on, a generator to run, or a shore power source.
Do NOT count on being able to run your air conditioning system from a battery. It’s possible, but you’ll need to know a lot about air conditioning units, batteries, and inverters in order to make this work. It’s unlikely you’ll find an upfitter who would take on this work for you.
An interim solution is to use a smaller portable air conditioning unit. They take up space in the vehicle rather than being roof mounted, and they won’t cool the whole van interior, but they may make it more comfortable to sleep.
What type of insulation will you use?
Spray foam, Polyiso board, and Thinsulate are the popular choices. Read the pros and cons, then decide.
Spraying foam is a pretty final act, so you need to be sure you’ve done your prep (setting wires in place, cutting roof holes, masking any moving parts you don’t want to get gummed up, etc.) before you insulate. Other options can typically be moved or removed in the future if necessary.
In the end, insulating your van becomes a bit of a religious thing. People have strong views that are based more on personal beliefs than any direct evidence. It’s also very subjective. What’s warm to someone else may be too cold for you.
What is important to consider is at what stage in the build you’ll insulate. You’ll need to know what wires will need to go where, and what interior components you’ll need to install, before you go filling areas with insulation materials that you might have to remove later. It’s no fun scraping the tacky butyl rubber sound deadener off a wall. It’s also not easy to remove chunks of foam from the interior if you need to add a fan or a window later.
Choose your cooking tools
Some people are completely satisfied with a tiny camp stove to heat some soup in the evening. Others want to prepare full meals in their vans. Where are you on that spectrum?

Microwaves are touchy devices. They like pretty clean power sources. That means your inverter should be a pure sine wave model rather than a square wave model. Although they might just work on a modified sine wave inverter, they’ll do so at a lower power output and they’ll make a nasty humming noise. Pure sine wave inverters are obviously more expensive. Also, remember that the power rating for a microwave (700 Watts, 1000 Watts) is how much power it puts out, not how much it sucks in. Our 600W microwave draws in nearly twice that much power to actually run.

Induction cooktops are a relatively efficient way to heat pans of food if you are planning on using electricity for your cooking needs. You do need pans that are induction-ready, and you shouldn’t use this type of device if you have a pacemaker.
Of course, if you decided to install propane then you’ve got a great source of fuel for cooking. Install your carbon monoxide sensor, though, and remember that burning gas produces a lot of moisture (about 0.8 gallons of water per gallon of propane). You’ll need to vent the van well whenever you are cooking. The same applies if you use a portable camp stove. Lots of people seem to like the Everest Camp Chef because it has high BTU burners that actually heat pans quickly. One of the benefits of a portable unit is that you can take it out of the van and cook outside whenever the weather is good enough and the bugs aren’t around.
You can buy diesel cooktops. Some people like them. They take a while to heat up and cool down, and most designs don’t have great heat control – you have to move the pan around on the cooktop from a hotter to a cooler area. It’s a little like cooking on a wood stove, I guess.
We ended up with an all-electric setup, but we do have a butane hiking stove as a backup in case all else fails, or if we need to heat more than one pan at a time.
Work out how much water you need to carry
Water weighs 8lbs/gallon. If you are being economical with it, you should budget on around 3 gallons per person per day for drinking, food prep, dish washing and personal hygiene. Most likely you will use more than this. Even a very economical shower can take 1 gallon of water.

Water in also requires water out. Grey and black tanks take up space either inside the van where they are more protected from freezing, or underneath the van where they are easier to drain. You can avoid plumbing a black tank by using a composting toilet, a cassette toilet, a bucket, or no toilet at all (if you think you can rely on restrooms and rest areas).
Your camping lifestyle needs (and the lifestyle needs of the other people you camp with) will determine just how much water you need to carry. Someone who just absolutely can’t live without a ten minute hot shower every day is probably going to be disappointed with van life, unless you plan on parking at organized camp sites every night.
We ended up with a 16 gallon fresh water tank, and an additional 4 gallons of hot water. Although we can drink from our tank supply, we also tend to carry additional 1 gallon containers of fresh water. We use a 5 gallon grey water tank.
Determine your storage needs
If you’re carrying motorbikes, you’ll probably end up with a folding bed or a convertible bench seat/bed setup because the motos take up so much room. If you want to store bikes inside the van, you’ll most likely end up with a platform bed. Kayaks and surf boards tend to need a clear space from front to back in the van so they typically take up the aisle space. Climbers, you may or may not want to use your bouldering mat as a mattress at night depending on how funky it smells and how dusty it’s got.
And that’s just toy storage. You also need places to store food (preferably rodent-proof), a cooler or fridge, clothes, bedding during the daytime, water, fuel, your batteries, and camping tools and supplies.
You may also want an indoor shower or toilet, a sink, workspaces for cooking, and so on.
And how many passengers do you intend to carry? If there are more than two of you using the van, you have extra seating requirements.
Will the van be dual-use (work and play)? Does your camping setup have to be easily removable so you can throw it in the van for the weekend and be ready to work again on Monday?
All of these questions help to determine your layout. It’s probably most useful to start your design with an idea of your bed position(s). Then, consider where your passengers will sit. Will it be on the folded up rock-and-roll bed/couch combo? In one of the original van passenger bench seats? Will the seat need to be moved further back, and how easy is that? Is it better to add captain’s chairs?
Next is cabinet space. Will you use floor mounted cabinets? Wall mounted? Just a couple of plastic tubs bungied to the floor? How much storage space can you get away with? How much weight can you afford to carry?
It’s easy to go overboard here, but remember that you only have a certain payload. Every cabinet, seat, bed platform, and bike rack eats in to that payload. Every passenger – even every pet dog – weighs something too.
The weight adds up quickly. A 2500 144″ wheelbase cargo Sprinter has a payload of around 3,500 lbs. That quickly drops to 2,500 lbs for the 170″ wheelbase 4×4. You will be hard pressed to do a full conversion with that weight limit. We had to cut corners to achieve it in our van. A 3500 Sprinter has up to 4,500 lbs payload, which is much more reasonable!
Design your interior around your lifestyle
There are several tools you can use to draw out your van interior. Sketchup is a popular 3-D modeling tool that is free for personal use. The Sportsmobile site has a 2D layout tool (and printable templates if you prefer real-life fiddling).
Overall though you’re probably better off just with a pencil and paper at least to start with. Once you’ve got a grasp on how you think things could be laid out, then it’s time to start with the more complex tools. If you move to them too soon, you’ll be tempted to stick with what you initially created rather than feeling uninvested enough to scrap your design and explore other options.
Material choices matter
Soft, plush fabrics and a thick shag carpet might be comfy but washing the mud out can be a bitch. If you’re leading an outdoor lifestyle, you’ll need to choose materials that can keep up with the abuse.

Rubber or vinyl flooring, Olefin fabrics, and varnished wood or laminate surfaces tend to be the surfaces of choice in a van. Aluminum and steel components also play a big role in most active conversions.
Some materials can be surprisingly heavy, too. The rubber coin flooring we used is not light. There’s a big difference in weight between different grades of plywood, and 3/4″ ply is obviously a lot heavier than 1/4″.
That’s why some builds do away with panels all together, or make them from lightweight materials. For instance, by not using doors on cupboards (bungies work well instead) or by using 80/20 with 1/4″ thick plywood or corrugated plastic panel inserts rather than building cabinets from 1/2″ or 3/4″ ply.
Look around at other vans for inspiration. If you decide you want to line your entire vehicle with 3/4″ thick bamboo or planks of beetle-kill pine, you’ll probably need a van with a higher payload. If you’re OK with fabric dividers rather than solid walls, you’ll save a touch of weight.
Think about aesthetics
The biggest difference between DIY builds and “professional” ones is normally whether they look co-ordinated or just slapped together. People don’t initially comment on the guts of the build, they talk about how it looks.
Consider what materials you’ll use in the vehicle and how they’ll look together. You don’t have to be an interior designer. Choose a look you like, and find ways to make all your interior pieces match that look.

Think about how you’ll finish off raw edges like plywood, or pieces of the vehicle trim at the edge of the headliner. Decide what you’ll do to either cover or accent bare metal parts of the van around the windows, the D pillars at the back door, and so on.
It’s the little things too. Cabinet door catches or drawer pulls should probably all match (unless you’re being specifically eclectic). It also helps if your light switches and outlets are all the same type, with consistent labels.
Create a color scheme that matches throughout the vehicle. If you’re bad with colors, just choose three that go together and stick with them. A neutral one for the main areas (wall, ceiling), a rich one for trim (probably darker or bolder), and a bright one for little accents like a pillow, piping around window covers, switch labels, and so on.
Check out other people’s builds
Obviously it’s easy to browse the upfitters’ sites for ideas, but you get a better feel for the intricacies of a build if you follow along with someone’s build process. That way you get to see their reasoning for the decisions they made, or the lack of reasoning if they just happened to have that component lying around. You also get to see what they’d change if they were doing it over. Better still, you can often ask these people questions and learn from the responses.
Upfitters include:
- Outside Van – often cited as the “standard” for adventure style vans, even though they’ve not been around as long as Sportsmobile. Nice attention to detail, ability to customize a build. Not cheap.
- Sportsmobile – were the original conversion company if you wanted a 4×4 Econoline with a pop-top and gnarly tires. Narrowly missed becoming a household name (like Kleenex or Hoover). These days, I think their interiors look a little tired and their equipment options seem a little out of touch.
- Craftsman Vans – a smaller builder in Salt Lake City and Portland
- RB Components – make lots of pieces for vans and will do a full or partial build
- Van Specialties – in the business for a long time, they will do full or partial van conversions.
- See the full list of upfitters and conversion companies here.
There is a whole subcategory on the Sprinter forum devoted to discussion of van builds. There’s another subcategory just for people to post write-ups of their build progress. Some builds of note are:
- Geek tells a good story and has done interesting things to his 2011 van (plastidipped the whole outside, for instance)
- Dave Orton has several threads on the forum (Search “Orton DIY”) – for instance lots of interesting miscellaneous good ideas. He’s now building a Transit van using a very similar layout.
- GeorgeRa has some well thought out components in his van. This thread is very chatty with lots of contributions from other forum members.
- Hein converted a 2010 3500. He also created a business selling several of the components he designed for his van.
- MidwestDrifter and Cole both converted the older style T1Ns. Good write-ups of various different aspects.
- LooseRocks’ 4×4 crew high top van. Lots of detailed pictures of elements of the build.
- Our build thread pretty much repeats what’s on this site, but with added commentary by other forum members.
You can find similar forums for the Ford Transit and the Promaster. Also take a look at the Expedition Portal forum, where people discuss overlanding and adventure vehicles in great detail.
There are also many blogs of varying quality that cover people’s builds. Some of the more informative are:
- Traipsing About started as a blog about building a van, but now it’s turned into one about living and working from one.
- Sprinter Van Diaries has also turned into a travel blog, because they’re really using the conversion how it is intended!
- Sprinter-RV sells an e-book on van conversions, and has built a site around it. There are several case studies. We’ve not read the book, so we can’t vouch for it. Some people complain it echoes the Sprinter Forum information, but anything that makes the information hidden on the forum more visible is probably a good thing!
- A tiny home on wheels documents a Sprinter build process well.
- Home Sweet Van have created a 130-page book about their build process. They freely admit it’s not so much a detailed blueprint as it is about the process of building a place to live.
- Sprinterlife documents a surfer couple’s life in a Sprinter, including having a kid. They’ve subsequently moved on to a bigger rig, but the site’s still informative.
- The Stealth Sprinter documents a build in Australia. The build quality is fantastic with some neat ideas like a bed that disappears into the ceiling. Worth checking out.
- Get some adventures uses linkbait style headlines for lots of their posts and nags you to sign up for their email newsletter. If you can get past all that, they have some interesting build posts from the perspective of a newbie van builder.
- Vanderlust is a climber’s build-out. Simple design, nice commentary on the build process.
- A $5000 conversion for full-time living in a new Dodge Promaster. Cuts a few corners (AC switches for DC circuits, for instance) but shows how it’s possible to create a livable space for not so much cash.
- Paul Jensen does some interesting and minimalist Sprinter builds. If his site is down, check out another one of his builds on the expedition portal.
- Don’t hold it against faroutride that they used a Transit rather than a Sprinter! Some good build descriptions and clear information.
- /r/vandwellers subreddit has some interesting posts. Probably less than half the contributors are full time van dwellers. Many others use their vans just for trips.
Step through the whole decision process again
Some of your later decisions mean you might need to change your earlier ones. It’s worth going through the whole decision process again to make sure you didn’t miss anything.
Is your electrical system the correct capacity for your other devices? Did you figure out where to put your lights, based on your cabinet and seating layout? Have you left a space to put your diesel heater and your water tank?
Although those sound like minor concerns, there’s nothing worse than getting half way through the build only to find out that something doesn’t fit in the space you left for it or you need to remove all the cabinets and panels from one wall to re-wire something.
Prototype and test
Take the “naked” van away for a weekend with just an air mattress and camping stove. This will help you decide what’s really important. If you still haven’t bought a van yet, rent one of the same type. You never know, all those romantic notions you have might not pan out in reality.
When you do have your own van, mock up your design using painter’s tape and cardboard boxes, and play-act the types of activities you’ll be doing (cooking, hanging out, etc.) with the right number of people. For instance, cooking can be hard in a narrow galley when 2 people are moving around in the van.

Making cardboard cabinets sounds weird, but this kind of reality check can make a massive difference. We realized we’d need an overhead cabinet based on how we wanted to use our other cabinets, and we worked out what size it could be without interfering with our movement around the van.
Buy stuff and start building
We made a mistake. We had a garage full of stuff before the van arrived. The problem is, your ideas may change as you start your build and begin to use the vehicle.

We did end up using most of the stuff from those early purchases, but had to sell a couple of others at a loss. That box in the front left of the picture with the Fragile label is a $500 water heater that we couldn’t use because our design changed and it wouldn’t fit in the new location.
Things will probably progress more slowly than you expect, so our advice is not to go stockpiling stuff for too far in to the future unless you’re sure you’re going to be using it.
Plan of attack
Here’s the order we would suggest you do things in as you work on the van:
- Strip the factory interior from van, clean up, treat any rust or potential rust areas.
- Cut holes in roof/wall metal (if necessary) and install fans, AC, windows, wire pass-throughs, antennae, water fill holes, propane vents, heater, and any other exterior-to-interior items.
- Move passenger bench seat location or add Captain’s chairs/rock and roll bench/bed mounting points (if necessary).
- Run wires for electrical if they’ll be going in the wall. We’d suggest NOT putting them behind your wall panels though if you can help it – things are more flexible if you run them in a raceway or inside your cabinets instead.
- Insulate.
- Lay flooring.
- Make wall and ceiling panels, plus fixing points for cabinets (l-track, t-nuts, rivnuts), then add lights/outlets in the panels.
- Make your cabinets, utility storage areas (for battery, water tank, etc.) and bed area. This is quite late in the list because you can make do with an air mattress and plastic tubs for a long time!
- Install battery, inverter, solar charge controller, fuses and distribution panel. Put solar panels up on the roof if you’re using them.
- Install plumbing. You might need to do part of this before the cabinets depending on your design. It’s easy enough to just use a 5 gallon water container until your plumbing is installed.
At this point, you’ll be on to the fit and finish items, like replacing the old sheets you were using as a curtain with proper window coverings, updating the van stereo to something worth listening to, or adding seat swivels. Lots of these smaller items will happen during lulls in the bigger pieces of work anyway. And some people would argue that updating the stereo is priority zero before any other work takes place!
It takes stamina to get this far!
OK, you’ve reached the end of a very long document. You’ve just proved that you have the endurance to get through to the end of what will probably be a very long van build.
Converting a van WILL take you many months. You WILL make mistakes. But you’ll end up with a vehicle that is unique and all yours. It’s worth it.
Take a look around the rest of this site to learn how we did things in our build, and to benefit from our summaries of the information we had to seek out during the process. Feel free to ask questions in the comments section on any page.
Most of all, enjoy the van conversion process!