
Most solar panels are designed to sit on the roof of a house, not to be driving down the road at 70 miles per hour. The panels themselves can take much higher wind speeds, but it’s all in how you mount them to the roof.
The most efficient way to mount panels would be at the correct angle to point them straight at the sun. That angle is equal to the degrees of longitude you are away from the equator. In other words, if you were at the equator you’d lie the panels flat, and if you were in Alaska you’d angle them at over 50 degrees. You’d also have to point them due south, or track the sun around during the day.
Obviously, that’s not going to happen. Either you have to always drive your van along the equator, or you’re going to lose some efficiency. Some people install their panels in a way that they can hinge up. That’s great if you plan to stay somewhere for long enough to make up for the hassle of moving the panels around.
We wanted to install ours so they’d hinge down from the roof over the side of the van like an awning so that we could angle them in to the sun and benefit from the shade they cast. We soon gave up on that idea when we worked out the engineering it would involve.
You will probably end up with your panels flat on the roof. We used the VanTech roof rack system and some aluminum fixtures that we fabricated to hold the panels in place. The VanTech roof rack rails have T-slots along their length, so it’s really easy to slide fitting plates in and cinch them down.

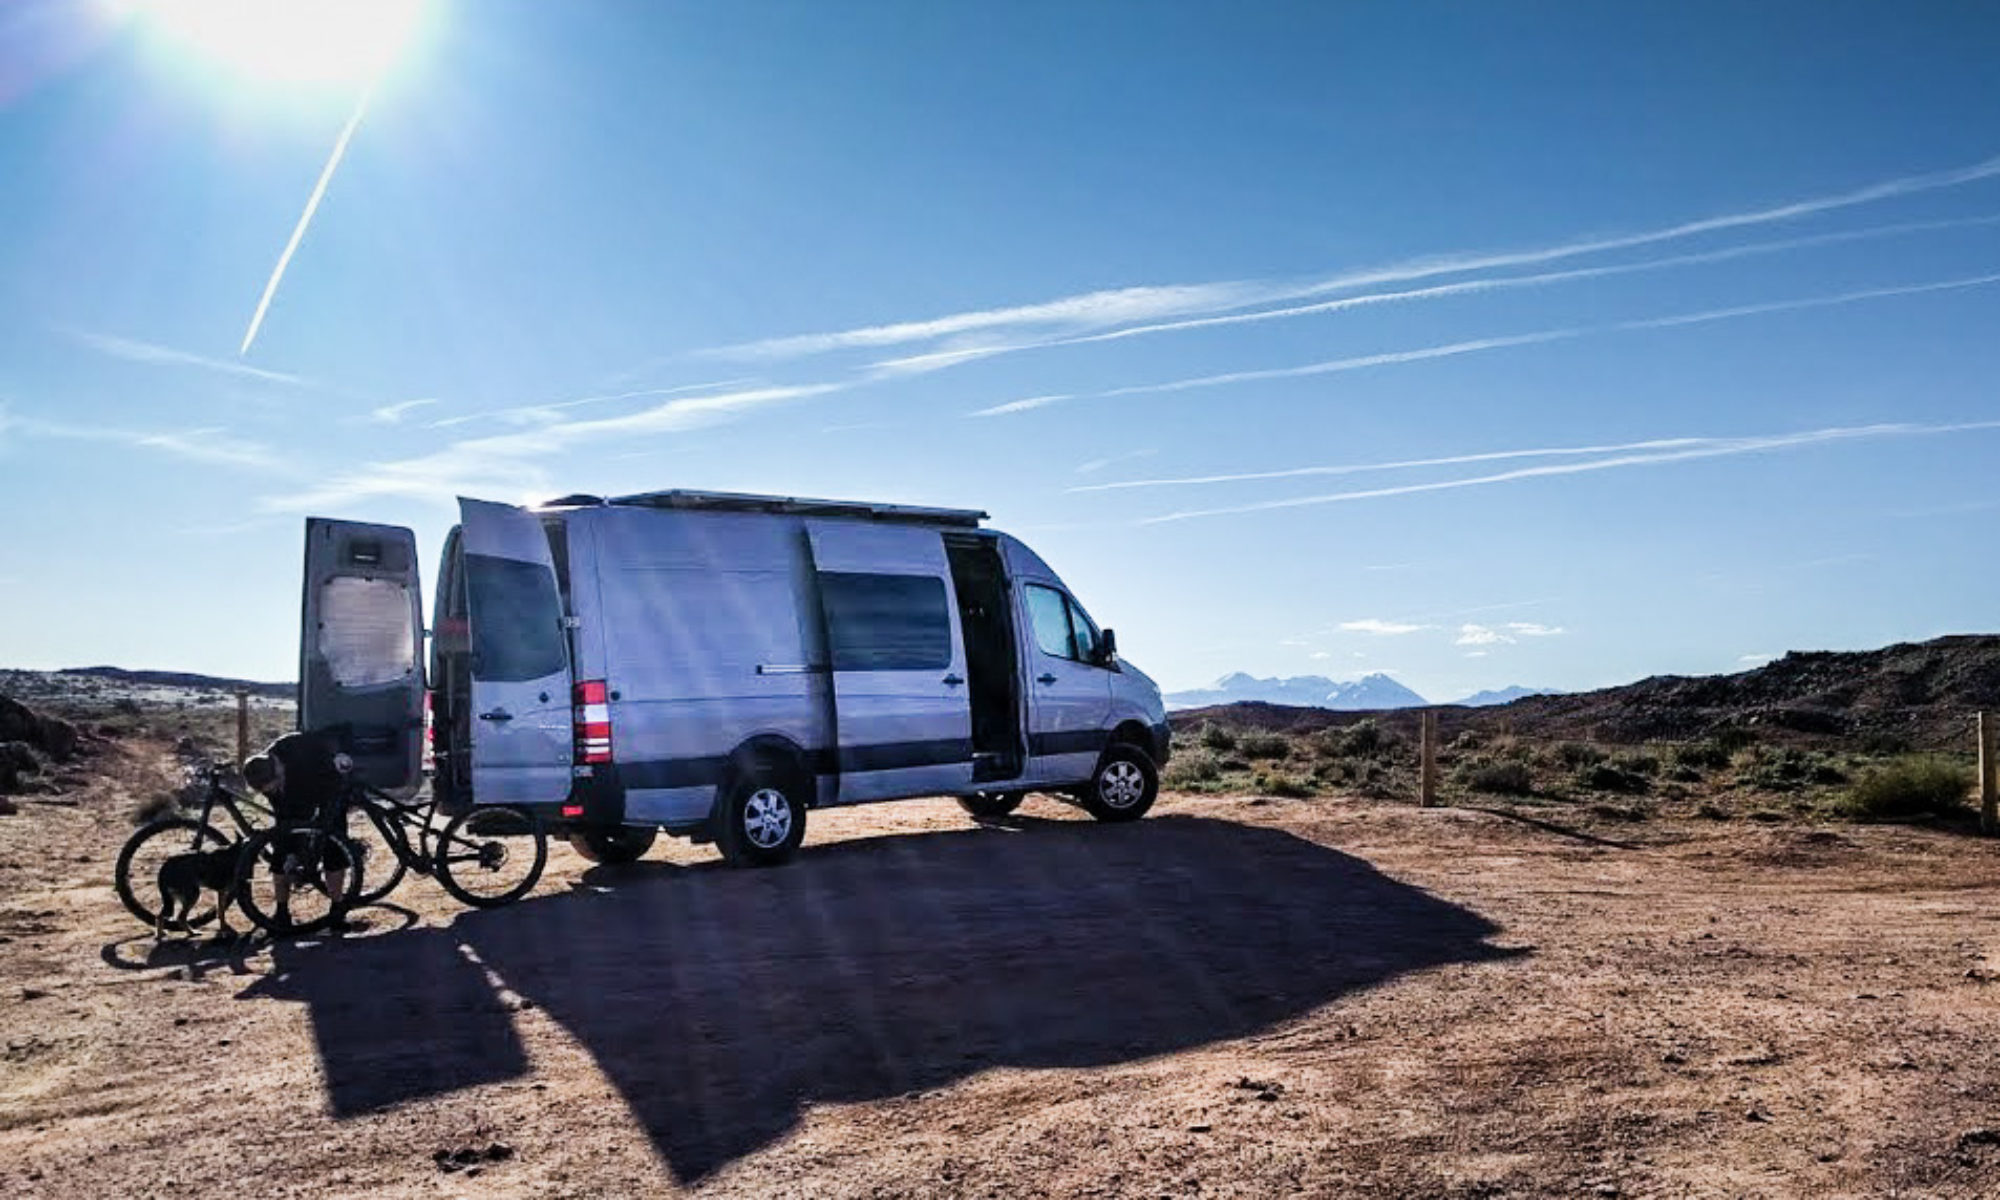
In this picture you can see the roof rack rail (cross bar) and its supports (the black vertical pieces). The rail has an aluminum plate bolted to it, and then there is a solar panel mounted to that plate on either side of the rail. We were able to use the factory holes in the solar panel.

An alternative is to make use of the roof channels (if your van has them) to slide in little fixings for the edges of the panel. The panels are pretty rigid and don’t necessarily need much extra support.
If you don’t have the roof channels on your van, you can just use VHB (Very High Bond) tape to stick brackets for the panels to the roof, but that involves trusting the tape and also Mercedes’ crappy paint job. Even if the tape is strong enough, will the paint hold it on to the metal of the roof? If you use brackets, I’d suggest either screwing or bolting them through the roof.
Remember that you’ll probably get higher efficiency if you leave a gap under the panels, but that’s going to raise the height of your van and might cause more wind noise as you drive. It’s a trade-off. We added a fairing at the front of the roof rack and to the edges of the panels to cut down on wind noise.
Finally, don’t put panels in a position where anything else on your roof can cast a shadow on them. Even a tiny bit of shadow on a solar panel reduces its efficiency a long way. Top boxes, gnarly light bars, toilet vents, or anything else that puts shade on a part of the panel is robbing you of solar energy.
You need to get the cables from the panels into the van. We used a cheap but effective solution: Cable glands.

We have lots of space between our panels and the roof, so we could use straight glands. If you have less space, you can get glands with a right angle bend, or other designs like the Blue Sea Cable Clams. Some people end up placing a plastic junction box on the roof and drilling a hole through the center of it into the van interior. That’s useful if you are planning on running several different cables for different systems, because it means you don’t have to drill a different hole for each one.
Just be sure to gloop the whole thing with sealant when you are done. We used Dicor self-leveling sealant around the base of each gland, and some Marine Goop over the screw-down part at the top, just to help out the internal seal.
I like your setup 👍🏻. How many bars does your Van tech roof system have? There are several options to choose from. I’m guessing either 2 or 4? Also, would you do things differently now given the issues you face mounting the awning?
We bought four bars. We might do things differently, considering the hassle it’s been finding a way to mount the awning. If the roof rail supports were just 1/2″ higher, a Fiamma F45S awning would fit on the underside of the bars without getting in the way of the sliding door. As it is, there is some interference so we’ll be mounting the awning on the edge of the bars using some strong L-shaped brackets. I emailed VanTech to see if they would consider making 4″ high brackets, but they never responded. Customer service isn’t their strongest point.
The alternative, obviously, is to use some aluminum plates or even a whole new mounting rail to create an offset location for the roof rail supports. Then you could use the Fiamma F65 awning with no problems.
There are also other roof rail solutions. If you’re just looking at mounting solar panels, Hein’s stainless roof rail supports are a good choice. They mount to 80/20 t-slot bars. Expensive though!
Thank you for your quick reply and being so helpful. I have a year+ to build my van before we hit the road so I’m currently in the “spend a lot of money ordering things” process.
That year will be up before you even know it! Have fun with your build.
Where did you get those black brackets to mount it to your rails?
Hi,
I have the same roof rack system you do and am wondering what kind of brackets you used to mount the panels to your crossbars? I would like to do the same things. It seems as if yours are custom?? Can you tell me more about them and possibly include a picture or two? Thanks!
Hi Supriya, there’s a picture of the bracket in this post. The photo of the underside of the rack shows it. It’s not the easiest to make out, but it’s about as good as you’re going to get. It is a completely custom bracket but it’s easy to make because it’s just a flat piece of aluminum.
We used 1/4″ thick aluminum plates that were 3″ wide and 6″ long. We used t-slot bolts from the roof rail manufacturer to attach the plates to the roof rails. We drilled holes the right distance away from this central slot to match the locations of the holes in the edges of the solar panels. We then dropped bolts through the solar panels and through the aluminum plates to attach the panels to the plates.
Putting everything together was hard because it’s a tight space. We had the roof rails mounted, added the plates on the underside of them, and then placed the solar panels on the plates. We didn’t tighten anything down too hard at this point, so we had some wiggle room to line things up. Then we bolted the panels to the plates and tightened it all down.
Nice work…I’m thinking about a similar wide on the roof mount. Any issue with the few inches of overhang on each side? I’ve had trouble finding info on that.
Valerie, we’ve had no issues with the solar panel overhang. The width of the panels is still less than the overall width of the body, because the van walls taper in towards the roof. It’s just not something we notice.
It did make things slightly more interesting when we mounted the Fiamma awning, but nothing we couldn’t solve with some custom awning brackets.