To “prettify” our panels and cut down on wind drag and noise, we added some ABS plastic sheets where the panels overhang the edge of the van.
Who are we kidding? The Sprinter cuts through the wind about as well as a brick. However, every little bit helps when it comes to fuel efficiency so we decided to add a wind fairing to the underside of the panels in addition to the fairing we added in front of the roof racks that hold the panels in place.
We also wanted the panels to look less like solar panels from the ground. We might have sacrificed a little bit of solar efficiency with our solution (the panels might run a little warmer) but the connecting wires are all contained now and there are less edges to interfere with the van’s slipstream.
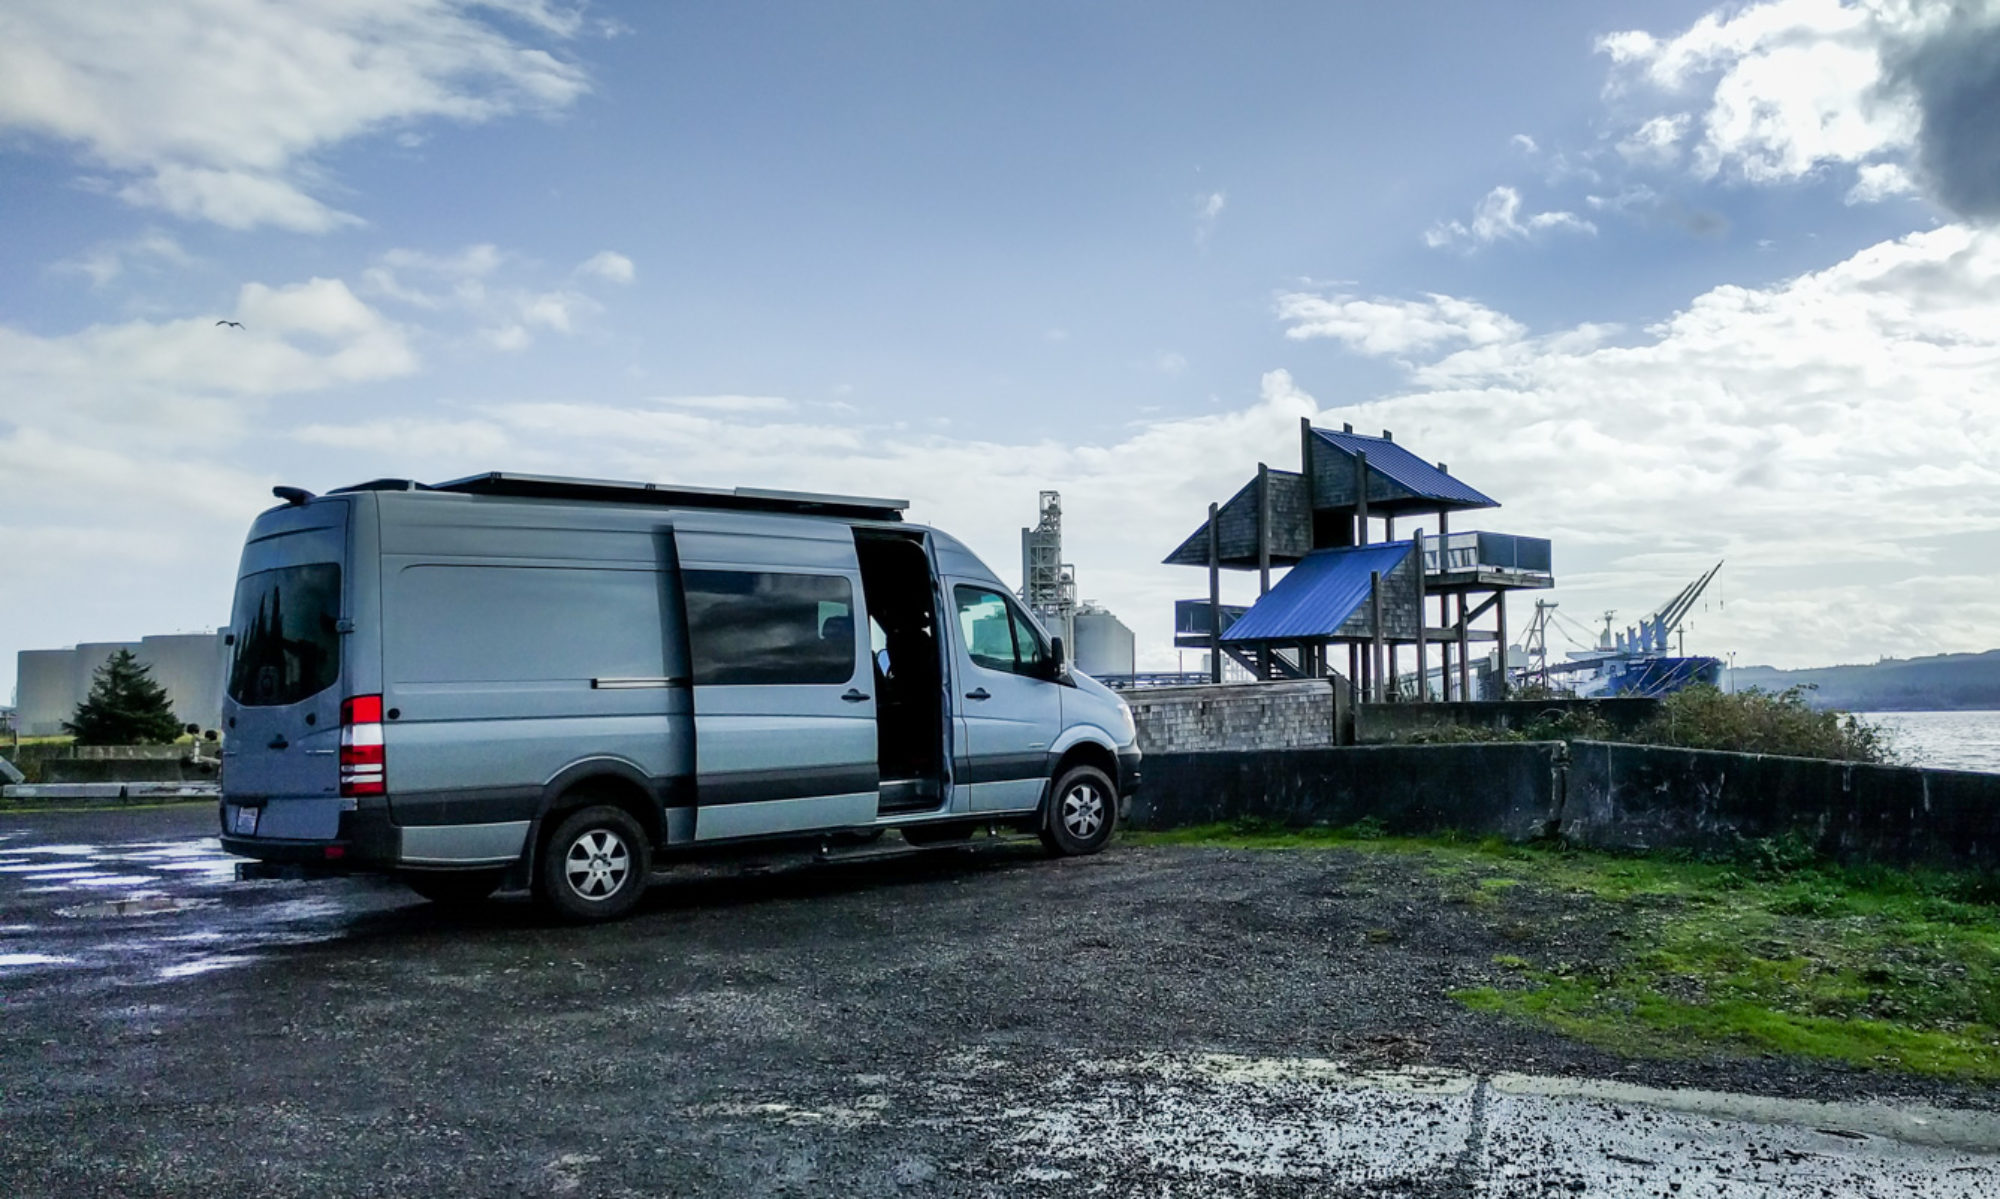
First, a picture of the panels without the ABS plastic sheets installed. To the right of the picture, you can also see the temporary rain gutter we installed. We found that with the solar panels installed, if we parked on a slope, rain would pour off the panels and in to the open sliding door. The gutter diverts it back behind the door opening. Once we have an awning in place, we’ll remove this gutter.

Then, a picture with the ABS sheet installed. The plastic is held in place by the aluminum “L” extrusion on the outside edge.

We heat-formed the edge that is closest to the middle of the van to create a tubular shape. That gives it enough rigidity to stay in place without bowing too much.
Overall, the aluminum “L” and the plastic sheets make the setup look a little bit more like a regular roof rack than a bunch of solar panels. Hopefully they cut down on drag, too.
Could you comment on how you made and attached the temporary gutter? Is it actual gutter material?
MaryBeth, the temporary gutter started life as a piece of trim left over from siding our barn. It was made from aluminum, probably slightly thicker than regular gutter metal. The gutter is held in place with bolts that slide into the track on the underside of the roof rack cross bars. You can see those T-shaped slots in the first image on this page. The rack manufacturers sell several lengths of studs that slot into these channels, then you just thread a nut on to the end of the stud.