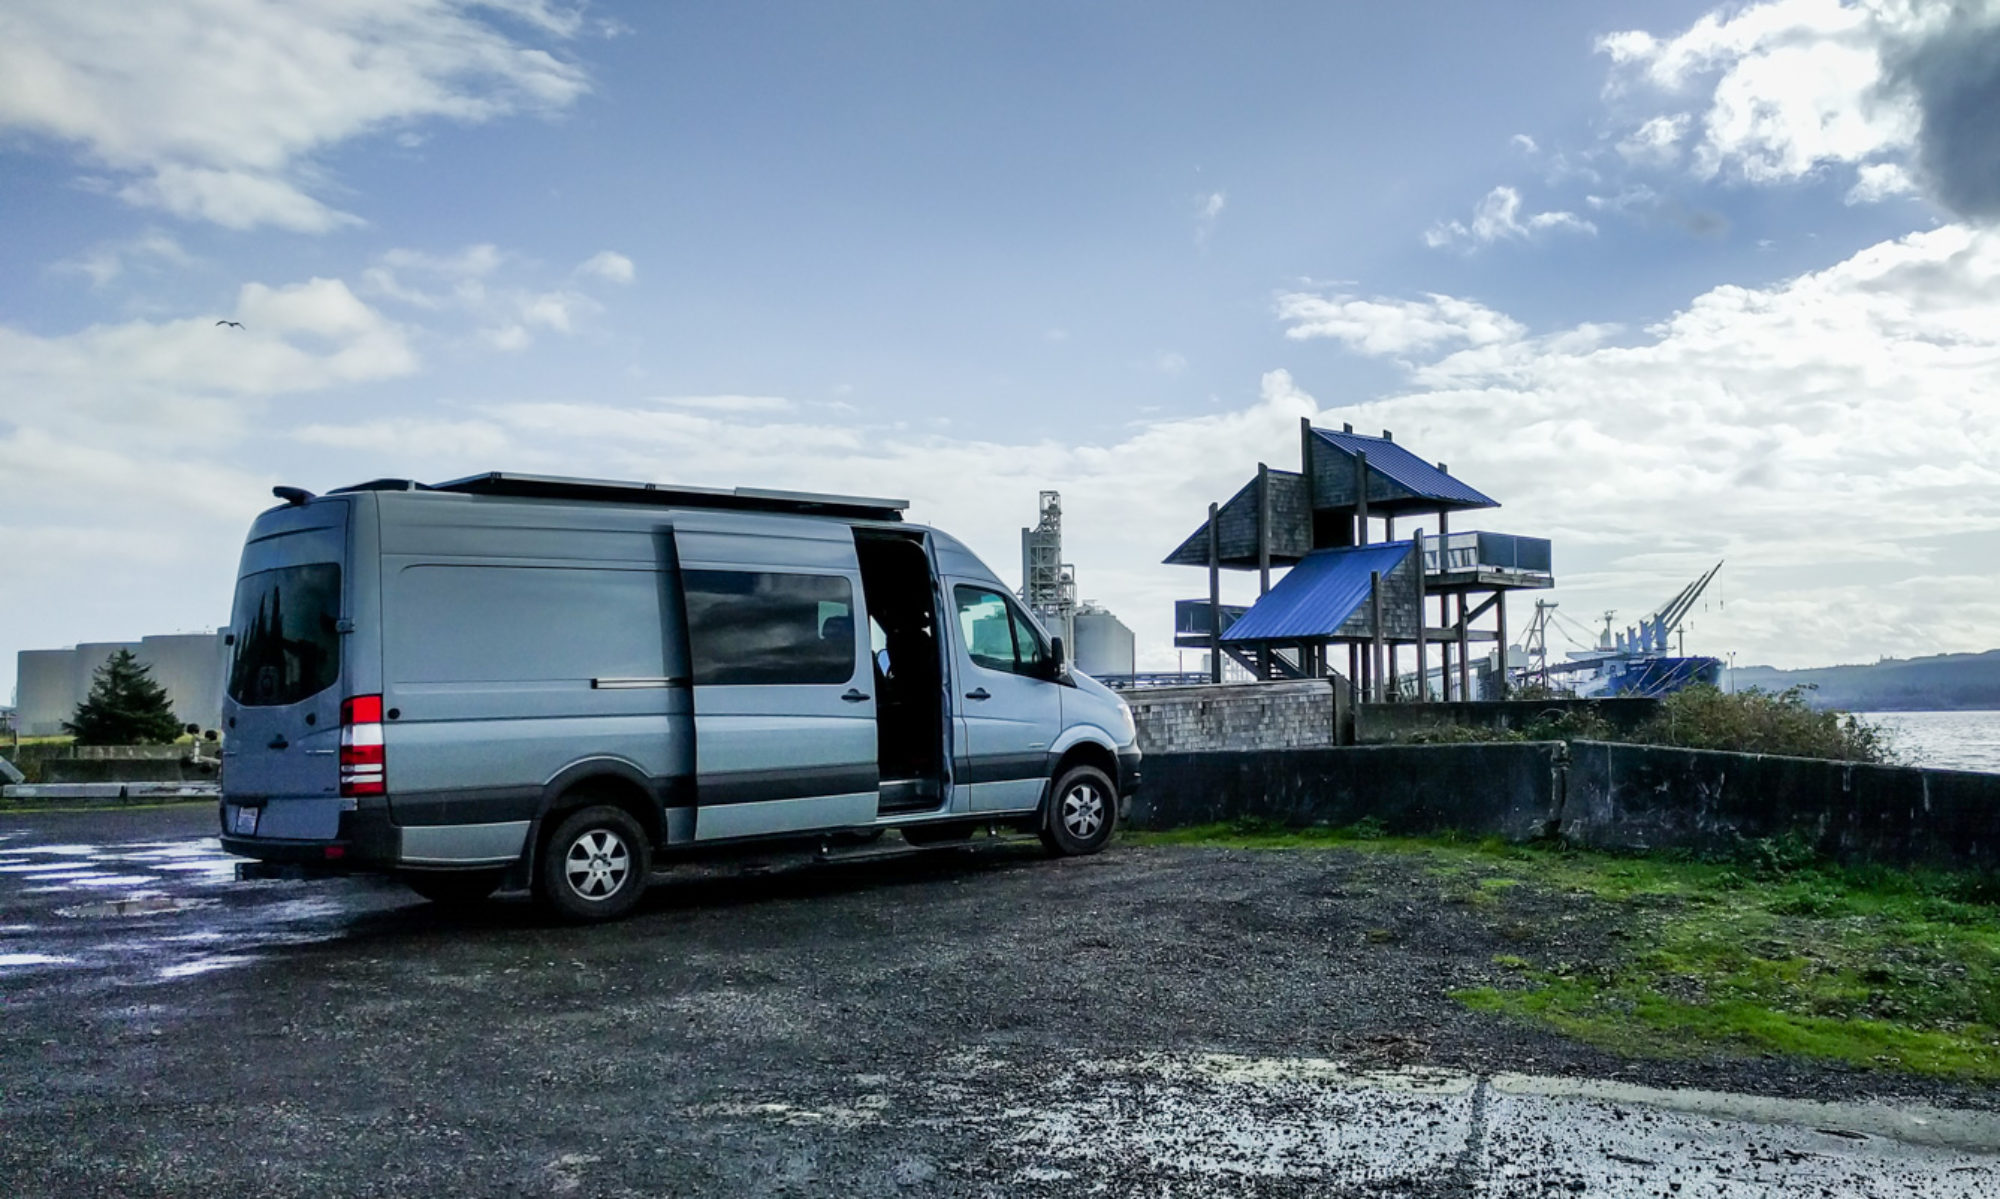
We made some window shades for our van a while back using Low-E. They work great but they are a pain to store. We decided to make them fold so they’d take up less space.
We tried stitching them with a sewing machine, melting them with a soldering iron, just smooshing them together, but the best overall technique was to use a hot iron on the fold lines. This is how we made it work.
When we first made our window covers, we just cut Low-E foil-faced foam to size using cardboard templates and then stuck Rare Earth magnets around the outside with Gaffer tape.

They work really well but we had to roll them up or store them flat in the van and that took up too much room.
We still plan on covering the inside face of the shades with fabric at some point, but in the interim we decided to make the shades foldable.
Most of the commercially available fabric-covered shades use a series of fabric pockets with strips of Low-E foil faced foam slid into each pocket to create a product that will fold up accordion style.
Because we weren’t able to rely on the strength of the fabric to be the hinge between each piece of Low-E, we had to think of an alternative.
We considered using gaffer tape to form hinge joints but realized that would just look ugly.
We tried melting the foam between the foil layers with a soldering iron, but that melted the foil too. Even though there were still threads of reinforcing material left in place, light would have got through at the joints.
In the end, a clothes iron on a high heat setting turned out to be the best answer. We laid the window shades over the edge of our kitchen countertops and ironed along the line that made. The iron melted the foam inside the Low-E without hurting the foil on either side.

The end result is pretty good. The Low-E is still rigid enough to stay put in the window, but when you fold it up it lays flat and stays put.

When the blinds are in the windows, the lines are noticeable but not as crazy as having Gaffer tape stuck all over the place.

We learned a couple of things as we were going along.
- We used vertical folds in the crew windows (behind driver’s seat and in sliding door) and the driver and passenger windows because we wanted the folded blinds to take up less length.
- We folded the crew window blinds into four. We folded the driver and passenger windows blinds into three, with one fold at the point where the quarter light ends. We folded the rear door window blinds in two horizontally at the point where our bed platform sits (almost half way up the window).
- We marked the folds with a dry-erase pen. It was easy to see where we needed to iron, and then the marks just wiped off afterwards.
- Not all of our magnets were in the correct places. If you were designing the blinds with folds in from the beginning, it would be much easier to position the magnets properly. Some of ours ended up on fold lines (bad) and in places where they’d attach to each other when the blind was folded (hard to unfold).
- The Low-E loses some length when you create the folds this way. If you’re making these from scratch, be sure to add about an extra inch for the crew windows and an extra half inch for the driver and passenger windows in the direction perpendicular to the folds (so, the width of the blind if your folds are vertical like ours).
- If you tried doing this with Reflectix it would probably be a real mess, because the bubbles inside that product are much bigger.
We’re happy with how much less space the blinds take up now when we’re storing them. They take slightly more time to deploy, and they don’t snap into place quite like they used to but that’s probably more because of the shrinkage (magnets don’t line up so well) than any other reason.
The lines in the blinds are noticeable from the inside and the outside but they aren’t a big issue. Overall we gained storage space without losing any functionality.


